Slabstone Steps Slabstone Steps


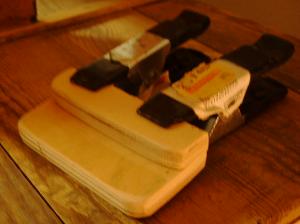
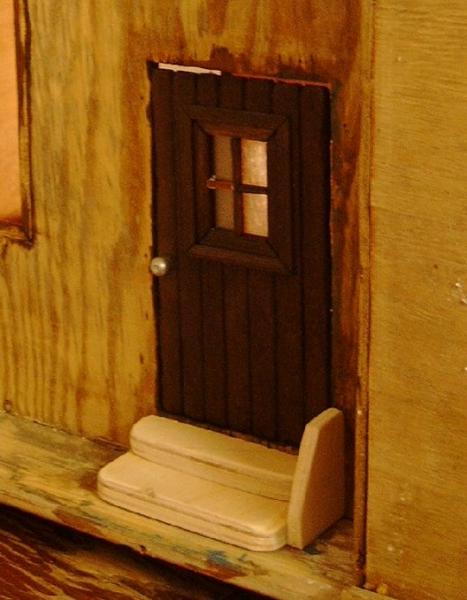
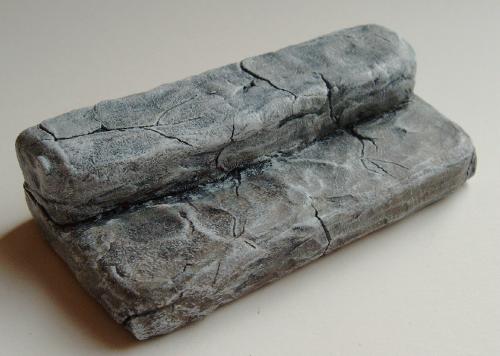
"Stone Slab" Steps

These are the entrance steps of our
They are meant look as if made of two large stone slabs.

Materials used for this project: Plywood, Airdrying Clay, Acrylic colors
(White, Paynes Grey, Burnt Sienna, Raw Umber, some Green)


Structure

The steps were cut from 12 mm plywood.
They measure about 9 cm, that's the door's width plus the width of the future doorframe.


Sanded and glued and clamped together.


Texture


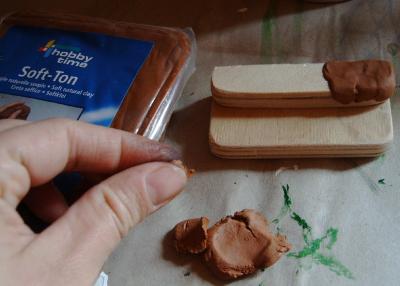
In order to get the look and feel of stone,
a sort of real clay which can be burnt or airdryed was used to cover the steps with.

Color doesn't matter at this stage.


Pull away small lumps from you heap of clay. Adding the clay bit by bit helps to get a nice, irregular finish. It pays of to be brave and leave notches and edges instead of spreading it all very smooth.


When the clay is spread out in a really thin layer, it will get cracks and fissures during the drying process. I learned that when I tried to make miniature pottery from that stuff...

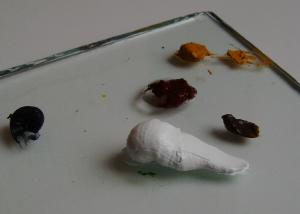
To make the steps look like large flat fieldstones, slightly press in your fingertip here and there. You should get clear elevations and roundish depressions. Don't make them too regular.(See picture above, right.) If you want your stones to look as if they have been hewed roughly, use a sculpting tool or the back of your fingernail and make short scrapes all over the surface. The effect can be seen in the picture below (I hope). If you want your stones to look as if they have been hewed and sanded, forget everything I have said about irregularity and smooth out the clay as even as you can.

In any case, as a final step take a soft toothbrush or stiff paintbrush and very very gently press it into the clay. Do that all over the clay surface. Don't do too much, as you might destroy the basic texture.


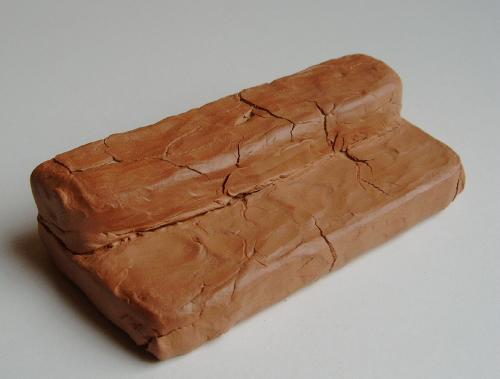
Click to enlarge

Almost dry.
Can you see the wonderful cracks? They look very natural.
You can of course also add some manmade cracks with some sharp tool or cover them with some fresh clay where you don't want them.

Fill gaps or cracks where the clay might come loose with a little white glue, wood glue or ceramic glue. But don't worry too much - the coat of acrylic colors will add stability, too.


Color

I used acrylic artist colors, miscelleanous brands.

Take out some of the colors of your choice or of those mentioned above.
For a base coat, mix white and paynes grey to a nice, rather dark stonish grey. Cover the entire structure with it. Do not dillute the color at that stage. The clay needs a firm coat.

Now you have a boring grey something. Let dry.

Now mix one of the other colors into that gray to get some variation. You might also want to lighten it up with a little white.

When dry you can go over your piece with washes - that's dilluted paint. Vary the gray the way you want. I used slighty more brownish mixes in the lower stone. One stone can also show a wide variety of shades.


Click to enlarge


The next steps serve to make your texture visible. This has already been done to the "stones" in the picture above.

These steps add a lot of expression to the piece.

1. Let dry thoroughly(!).
2. (Keep a soft, damp cloth handy.)
Take a bit of paynes gray and dillute it only a little. Go over the entire piece with that. Make sure it runs into all depressions, as little as they might be. Now take the cloth and wipe all the wet color off. It will stay in and add shade to the cracks and texture depressions.
3. The next step is drybrushing highlights.
Take some white; only dillute it if the paint is too viscous. Put only a little white onto the tips of a flat paintbrush and brush over some paper until there is almost nothing left on the paintbrush. Now, with gentle quick brushes, go over your entire piece again. The paint will stick to elevated parts only, and highlight all the fine details of your texture.